I have always had a place for LabVIEW in my toolbox. My opinion of it varies from week to week but I am settling on the side of appreciating what it brings to the table. It is an intriguing software package that allows you to write programs using graphical block diagrams. It is targeted primarily for scientists and engineers (read: non-programmers). I am a seasoned programmer with experience in C, C#, Java and a whole pile of other languages so it is fun for me to use LabVIEW and think about it as if I am using C. I taught myself LabVIEW over the past year by working on increasingly complex projects.
I recently got my hands on a National Instruments USB-6009 Data Acquisition (DAQ) card and decided to write up a driver for the classic Hitachi HD44780 LCD controller. I used the object oriented features of LabVIEW to implement the driver. This allows multiple instances of the LCD to exist concurrently which means that I can have multiple displays interfaced to my PC simultaneously. The results were great!
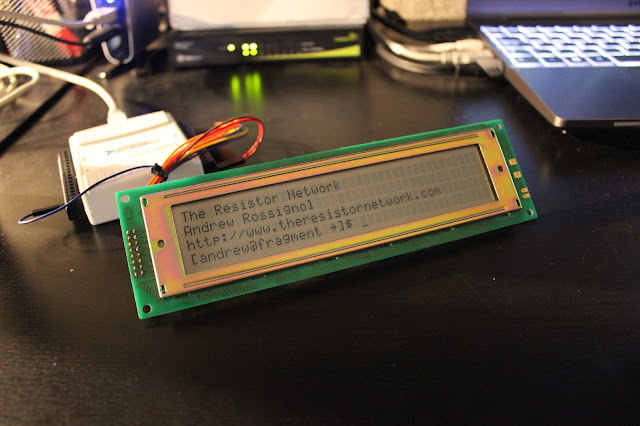 |
| The Initialized and Functional Display :] |
I I released the
code on NI Developer Zone. Read on to see how I did it!
Read the Datasheet!
My first step in tackling any new device is to
read the datasheet. I usually give it a skim the first time through within 10 or 15 minutes to get a general feel for the document. Then I zero in on the relevant sections required for me to understand how to initialize the target device and bring it to life.
The Hitachi datasheet was actually quite helpful as it contains a nice command reference. I also found a
user manual written by Optrex Corporation that contained some useful timing diagrams and flowcharts relevant to initialization. I strongly recommend this document to anyone who wishes to bring this display online.
Hardware
I wired up the DAQ card to the display using the digital lines and one analog output to set the contrast of the display.
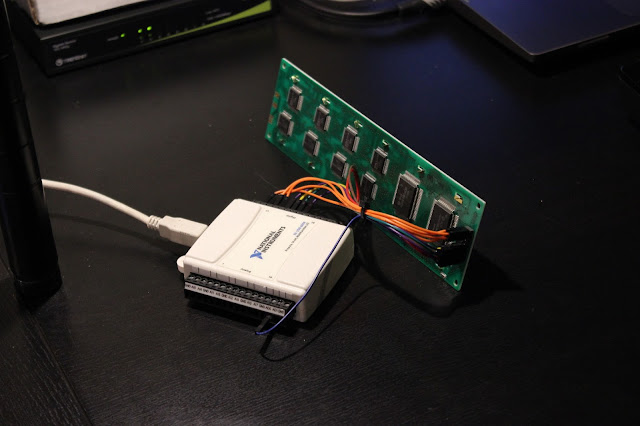 |
| USB-6009 Interfaced with the DMC40457 Display |
I installed header pins into the screw down terminals so that I could attach the display easily.
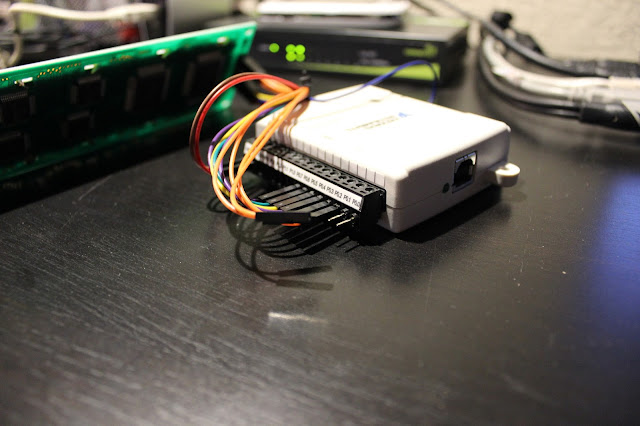 |
| Header Pins |
Software
I started working on the driver in LabVIEW straight away. This is my first time using a DAQ card so I decided to keep it simple and just vary the contrast of the display. The program is simple with an event loop and an analog write DAQmx task.
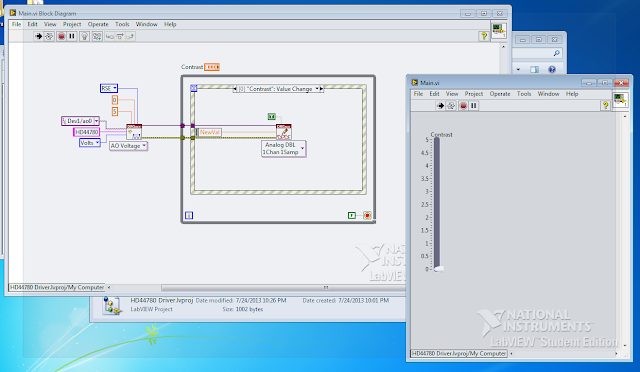 |
| Contrast Control Program, Very Simple |
Once I had an understanding of how to use the DAQmx API, I started designing the class to model the display. I decided that I would keep track of different configuration aspects of the display and where it is physically connected.
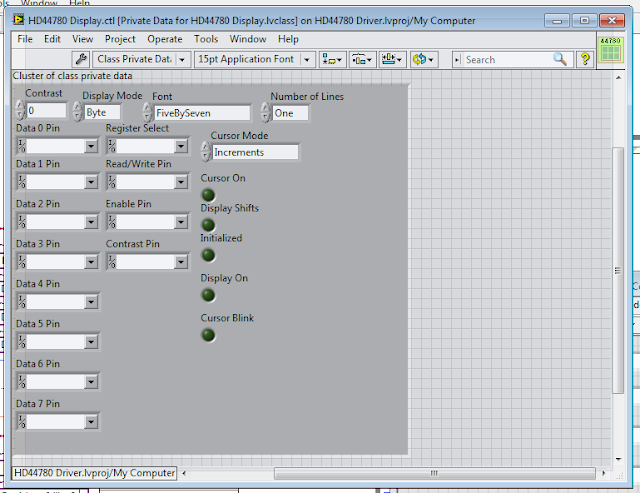 |
| The private data members of my class |
Once I had the data modeled, it was only a matter of implementing the various commands required to initialize and write data to the display.
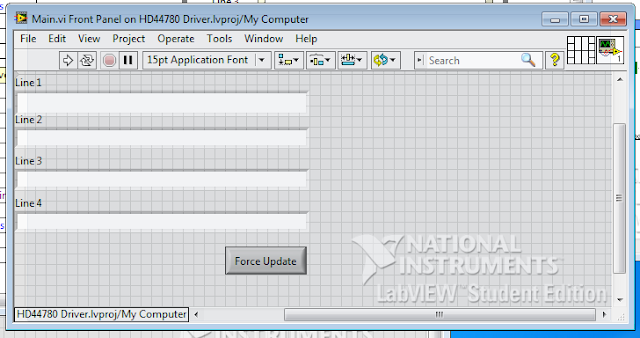 |
| Sample Application Front Panel |
Here is a screenshot of the source code for the sample application. I have developed the sample to support a 40 character by 4 line display (40x4) which means that there are two HD44780 controllers. This requires two instances of the class to drive them.
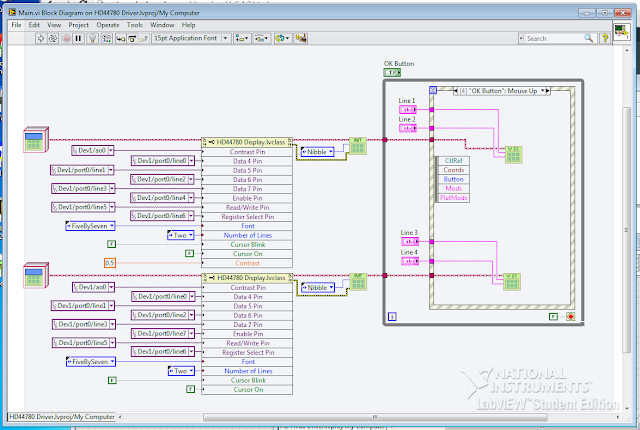 |
| Sample Application Block Diagram |
The writers over at
Hack a Day have given me a lot of "cred" for my work so I thought I would show my support.
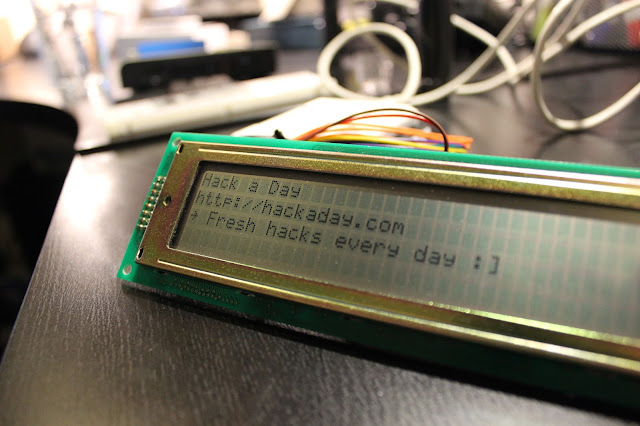 |
| Hack a Day and Slogan |
I hope you have enjoyed reading this article. I don't tinker with LabVIEW often but this is probably the most involved project I have worked on.


No comments :
Post a Comment
Note: Only a member of this blog may post a comment.